ADVERTISEMENT
Perhaps we don’t believe in the amount of germs that hide in the blender, even if we are sure that we clean the glass and the blades, which at first glance come into contact with what we consume.
Experts say that joints are one of the main sources of bacterial concentration in the kitchen.
During the blending process, the liquids disperse throughout the glass, including the lid, accumulating residues in the crevices and corners, where a layer is created. Even though the blades look shiny, it is difficult to reach with a sponge under the blades where food residue remains.
It is also difficult to notice the mold that accumulates in the area of the rubber ring on the bottom of the glass. It is one of the areas where the most humidity is concentrated and, once dismantled, you can perceive a thick dark layer, which is nothing more than an incubator for bacteria.
How to clean a blender well?
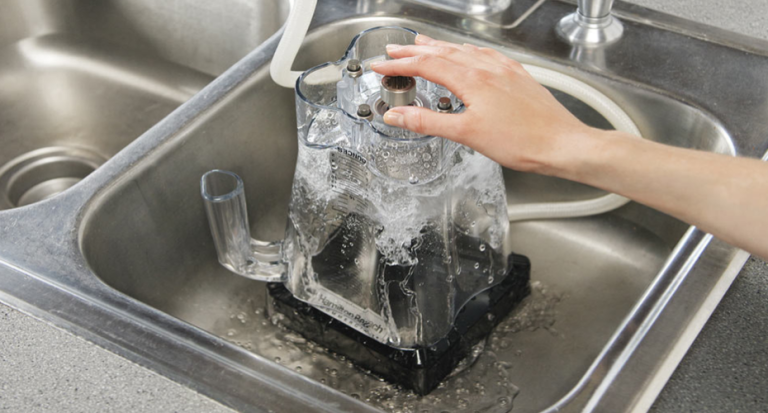
Once you have identified the places where the germs live in the blender, just reach them and wash them well to eradicate them. The solution is simple: you need to dismantle the glass and clean the parts separately.
We recommend using hot water, normal dishwashing liquid, scrubbing with a clean sponge, rinsing well and drying before reassembling.
It is recommended to spray the parts with hydrogen peroxide at least once a week.
Particular attention should be paid to the joints.
Unscrew the base and separate the glass from the metal part of the blades, with which you must be careful to avoid injuries. Remove the rubber ring, clean both sides thoroughly and leave it to soak for a few minutes before rinsing. If the rubber is deformed, it is replaced to prevent leaks.
The glass must be washed inside and out, especially the screw part, as well as the lid, especially those that have holes for adding ingredients during blending.
If it is not possible to unscrew the glass, you can fill it halfway with hot water, add a little detergent or bicarbonate of soda and half a lemon, without removing the peel. Blend for a few seconds and then leave to rest for a few minutes. This procedure helps to remove food remains from the inside and eliminate bad odors. It is then washed normally with a sponge and dried well before putting it away.
Tricks for washing the blender PROPERLY
After dismantling the blender and starting to clean it, some doubts may arise: am I doing it right? Have I followed all the steps indicated? I bring you some extra tricks that will come in handy:
Start and finish the process on a clean surface. To do this, it is best to place paper napkins on the bottom of the device so that they do not directly touch the marble or table. You can also do like me and place a large kitchen towel underneath, so that no residue or dirt touches your other furniture.
Save time by covering the area where the pulp is collected with a plastic bag (better biodegradable). That pulp can be used in the future to make smoothies, so if you already collect it when making juices, you will avoid the complicated process afterward.
Be proactive and have everything ready to wash and dry once your smoothie, shake or recipe is finished. This means that it is better to have the sink already empty and collected and also the dish drainer available.
Continued on next page
ADVERTISEMENT
