ADVERTISEMENT
Yes, yes yes! This is what I’ve been looking for!
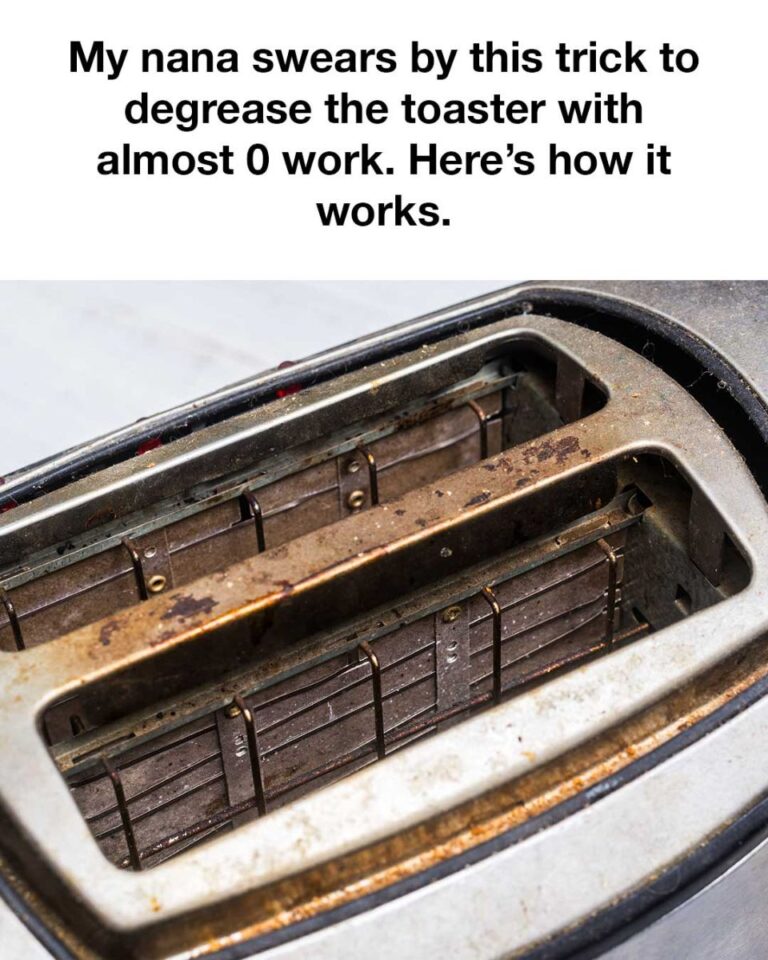
Once you’ve removed all the grime and grease, wipe down the entire toaster with a clean, damp cloth to remove any vinegar or baking soda residue. To make it shine, you can finish with a microfiber cloth to polish the exterior. This step gives the toaster a nice gleam without any streaks.
Nana’s tip: If your toaster is stainless steel, use a small amount of olive oil or baby oil on a microfiber cloth and wipe down the exterior in the direction of the grain. This trick helps prevent fingerprints and gives it a professional, shiny finish.
Step 5: Let It Dry and Reassemble
After everything is clean, allow the toaster and its components to dry completely before plugging it back in. Moisture and electricity don’t mix well, so be sure to give it at least 30 minutes to air dry or dry it off with a towel if you’re in a hurry. Once it’s dry, reassemble the toaster, and you’re good to go!
Why This Method Works
The combination of vinegar and baking soda is a classic cleaning hack, and for good reason. Vinegar’s acetic acid helps break down grease and grime, while baking soda’s mild abrasiveness works to lift stuck-on gunk. Plus, the chemical reaction between vinegar and baking soda (remember those school science volcanoes?) creates bubbles that help loosen dirt from hard-to-reach areas.
This method is not only efficient but also safe. Unlike commercial degreasers that can be harsh or leave behind chemical residues, vinegar and baking soda are completely non-toxic. You can even use them around food prep areas without worry. And because they’re so cheap and readily available, you won’t need to shell out for pricey cleaners that might not even work as well.
