Directions
Decide on a Design: Start by choosing a pattern or design for your lights. You could go for a simple starry night effect, a holiday-themed shape, or even spell out a meaningful word or phrase.
Mark the Holes: Use a pencil and ruler to lightly mark where each light will poke through the canvas. Be sure to space the marks evenly and align them according to your design.
Drill the Holes: Carefully drill small holes at each pencil mark. Make sure the holes are just large enough for the light bulbs to fit snugly through.
Insert the Lights: From the back of the canvas, insert the lights through each hole. Secure each bulb in place with a dab of hot glue to keep them stable.
Tidy the Wires: Arrange the remaining wire neatly on the back of the canvas. Use painter’s tape to secure the wire and prevent it from dangling.
Attach the Battery Pack: If you’re using battery-operated lights, attach the battery pack to the back of the canvas with painter’s tape or hot glue. Make sure it’s easily accessible for when you need to change the batteries.
Test the Lights: Before finishing, test the lights to make sure they all illuminate properly. Make any necessary adjustments if some bulbs aren’t working.
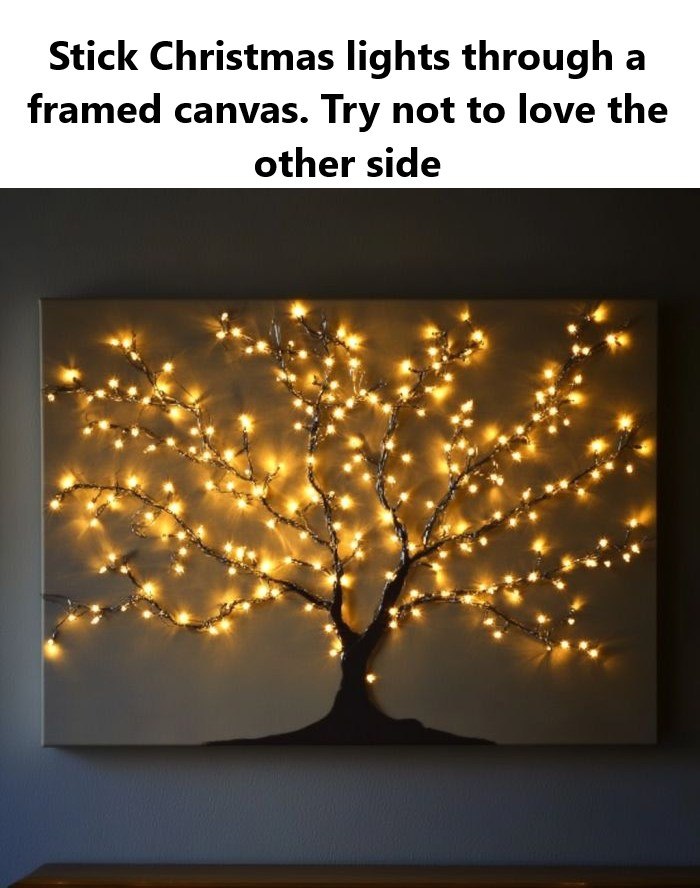
Display Your Canvas: Once everything is set, hang or place your illuminated canvas in your desired location and enjoy the soft, inviting glow!
Final Look