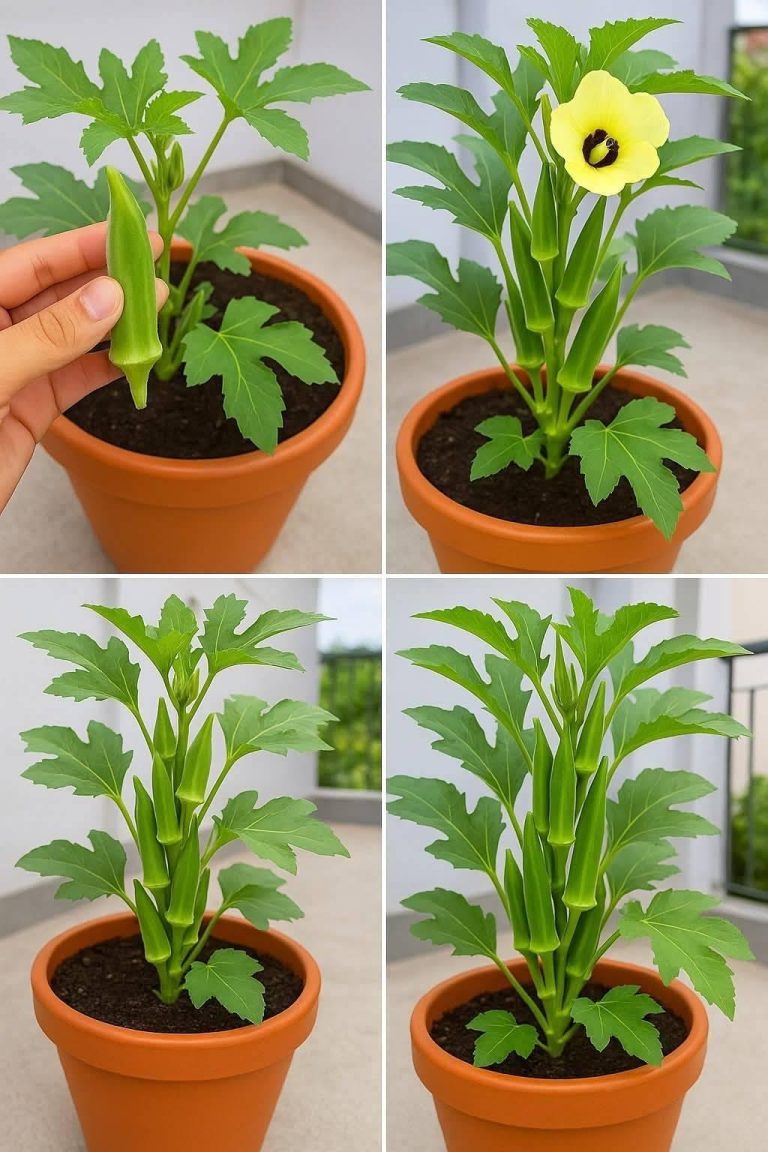
Growing your own vegetables at home is not only fulfilling but also a great way to ensure fresh, organic produce. Okra (also known as lady’s finger or bhindi) is an excellent choice for terrace gardening due to its adaptability, compact growth, and high yield. With the right techniques, you can enjoy a continuous harvest from just a few pots. Here’s a step-by-step guide to growing okra successfully on your terrace:
1. Select the Best Okra Variety
Choose a high-yielding, disease-resistant variety suited for container gardening. Some top picks include:
Clemson Spineless (popular and easy to grow)
Emerald (produces tender, flavorful pods)
Local heirloom varieties (adapted to your climate)
Ensure seeds are fresh for better germination rates.
2. Choose the Right Container
Since okra develops a deep taproot, opt for containers that are:
At least 12–18 inches deep
14 inches or wider in diameter (plastic, ceramic, or fabric grow bags work well)
Have proper drainage holes to prevent waterlogging
3. Prepare the Ideal Soil Mix
Okra thrives in loose, fertile, and well-draining soil. A perfect potting mix consists of:
40% garden soil (base)
30% compost (vermicompost or cow dung compost for nutrients)
20% cocopeat (retains moisture)
10% sand or perlite (improves drainage)
Optional Boosters:
A handful of neem cake (natural pest deterrent)
A spoonful of bone meal (for root and flower development)
4. Planting the Seeds
Soak seeds in warm water for 6–12 hours to speed up germination.
Sow 2 seeds per pot, about 1 inch deep.
Once seedlings emerge (in 5–10 days), keep the strongest one and remove the weaker plant.
Best planting time: Spring to early summer when temperatures stay above 20°C (68°F).
5. Provide Plenty of Sunlight
Okra loves full sun—ensure it gets 6–8 hours of direct sunlight daily. Place pots in a spot that receives ample morning and afternoon sunlight.