Propagate gardenias from cuttings with this step-by-step guide
1. Gather Your Materials
To get started, you'll need a few essential items. Make sure you have the following:
1. Garden shears or sharp scissors.
2. Rooting hormone powder or gel.
3. Small pots with drainage holes.
4. A high-quality potting mix.
5. Clear plastic bags or a propagation dome.
2. Choose the Right Time
The best time to take gardenia cuttings is during the late spring or early summer. During this period, the plant is actively growing and the chances of successful rooting are higher.
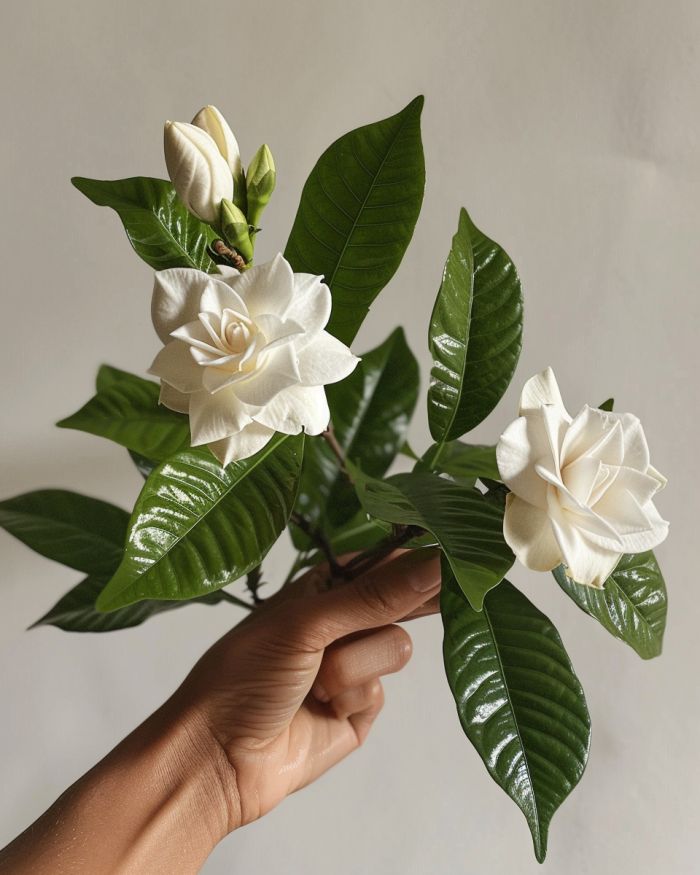
3. Select a Healthy Mother Plant
Always choose a healthy gardenia plant for taking cuttings. Look for a plant that has no signs of disease or insect damage. This ensures that your cuttings have the best chance of becoming strong, healthy plants.
4. Take the Cuttings
Use your sharp garden shears or scissors to cut a stem of about 4-6 inches long. Make the cut just below a node (a point where leaves attach to the stem). Ensure that you have at least two sets of leaves on the cutting.
5. Prepare the Cuttings
Remove the leaves from the lower half of the cutting. This helps in reducing water loss and encourages root development. Dip the cut end into rooting hormone to increase the chances of successful rooting.
6. Plant the Cuttings
Fill your pots with a high-quality potting mix and make a small hole in the center. Place the cutting in the hole and firm the soil around it to remove air pockets. Water the soil lightly to settle it around the cutting.
7. Create a Humid Environment
Cover the pot with a clear plastic bag or place it under a propagation dome. This high-humidity environment helps the cuttings retain moisture and encourages rooting.
8. Provide Proper Care
Place the potted cuttings in a bright location that gets indirect sunlight. Keep the soil moist but not waterlogged. Check for root development after 4-6 weeks by gently tugging on the cuttings.
9. Transplanting
Once roots are well established, your gardenia cuttings are ready for transplantation. Gradually acclimate them to outdoor conditions before planting them in your garden or a larger pot.