Recycling household materials can be a great way to build useful and sustainable tools. In this article, you’ll learn how to transform an old stainless steel sink into a functional wood stove using cement, sand, and some basic materials.
Materials Needed
- Used Stainless Steel Sink
- Cement, sand and water
- Metal grill for stove
- Polyurethane foam or foam sheets
- Wooden sticks for support
- Round steel bar for internal grating
- Paw bricks
- Tools: scissors, marker, drill, saw, spatula
Preparing the Sink
- Remove the connections from the sink and clean it completely.
- Fold the sharp edges of the sink to avoid accidents.
- Accurately mark the stove door area and cut out that section.
- Sand the cut edges to smooth them out.
Molds and cement mixing
- With the help of foam and wooden sticks, make a mold for the stove core and another for the door.
- Place the metal rack in the center of the sink.
- Mix cement, sand, and water until you get a uniform paste.
- Pour the mixture around the pan and into the sink, ensuring even distribution.
- Place a steel ring to reinforce the base and another layer of cement.
- Add the metal rods as an inner grid.
- Fill more cement until level with the top of the mold.
Drying and final assembly
- Wait for the cement to dry completely.
- Carefully remove the foam molds.
- Clean the inside of the stove thoroughly.
- Place bricks on the sides as support for the stove legs.
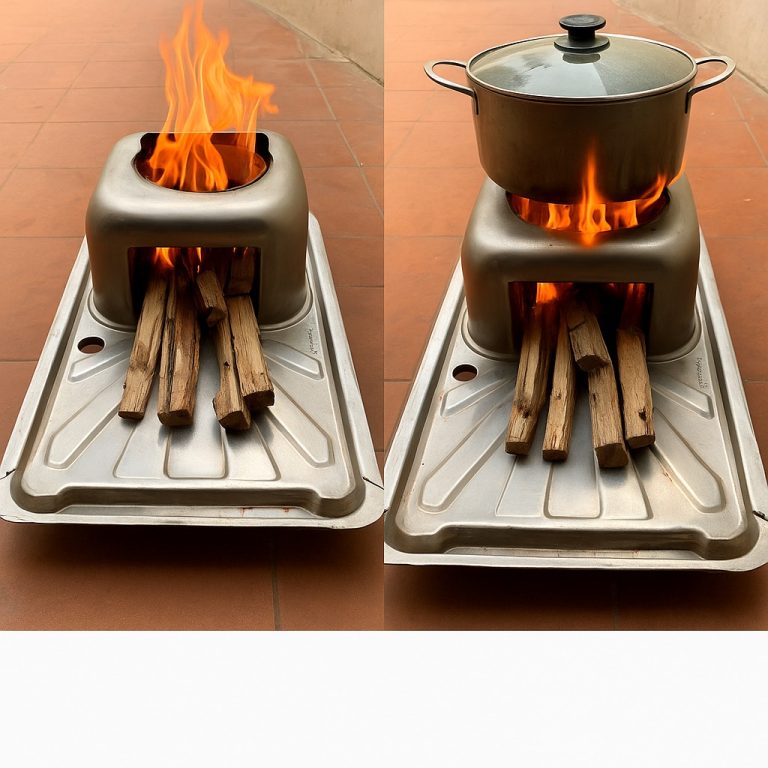
- Test how it works by adding wood and lighting it.
Benefits and practical tips
- It’s a great way to repurpose an old sink.
- The stove is sturdy, portable and useful outdoors or rural areas.
- You can adapt the design according to the size of the sink or the available rack.
- Wear gloves and eye protection when working with tools and cement.
For a better understanding of this content we invite you to watch the following video from the Alva Welding channel: